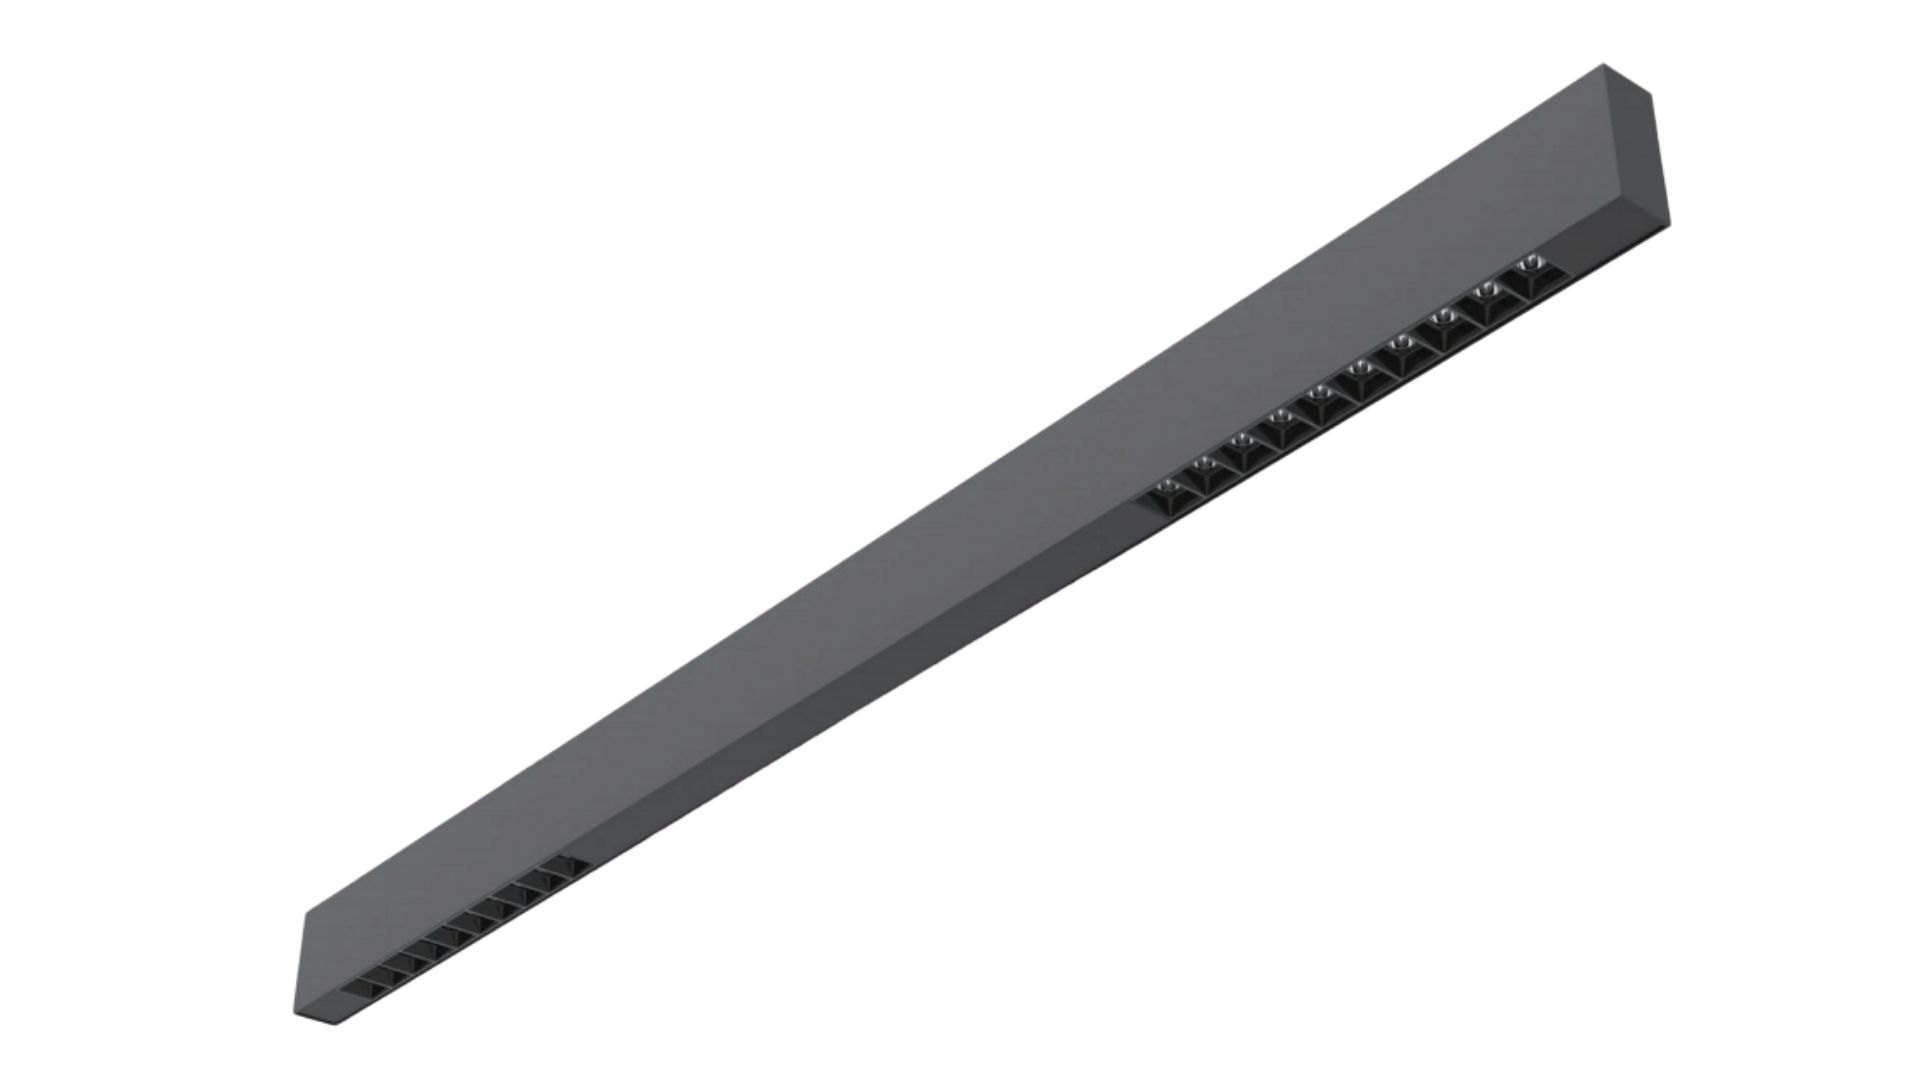
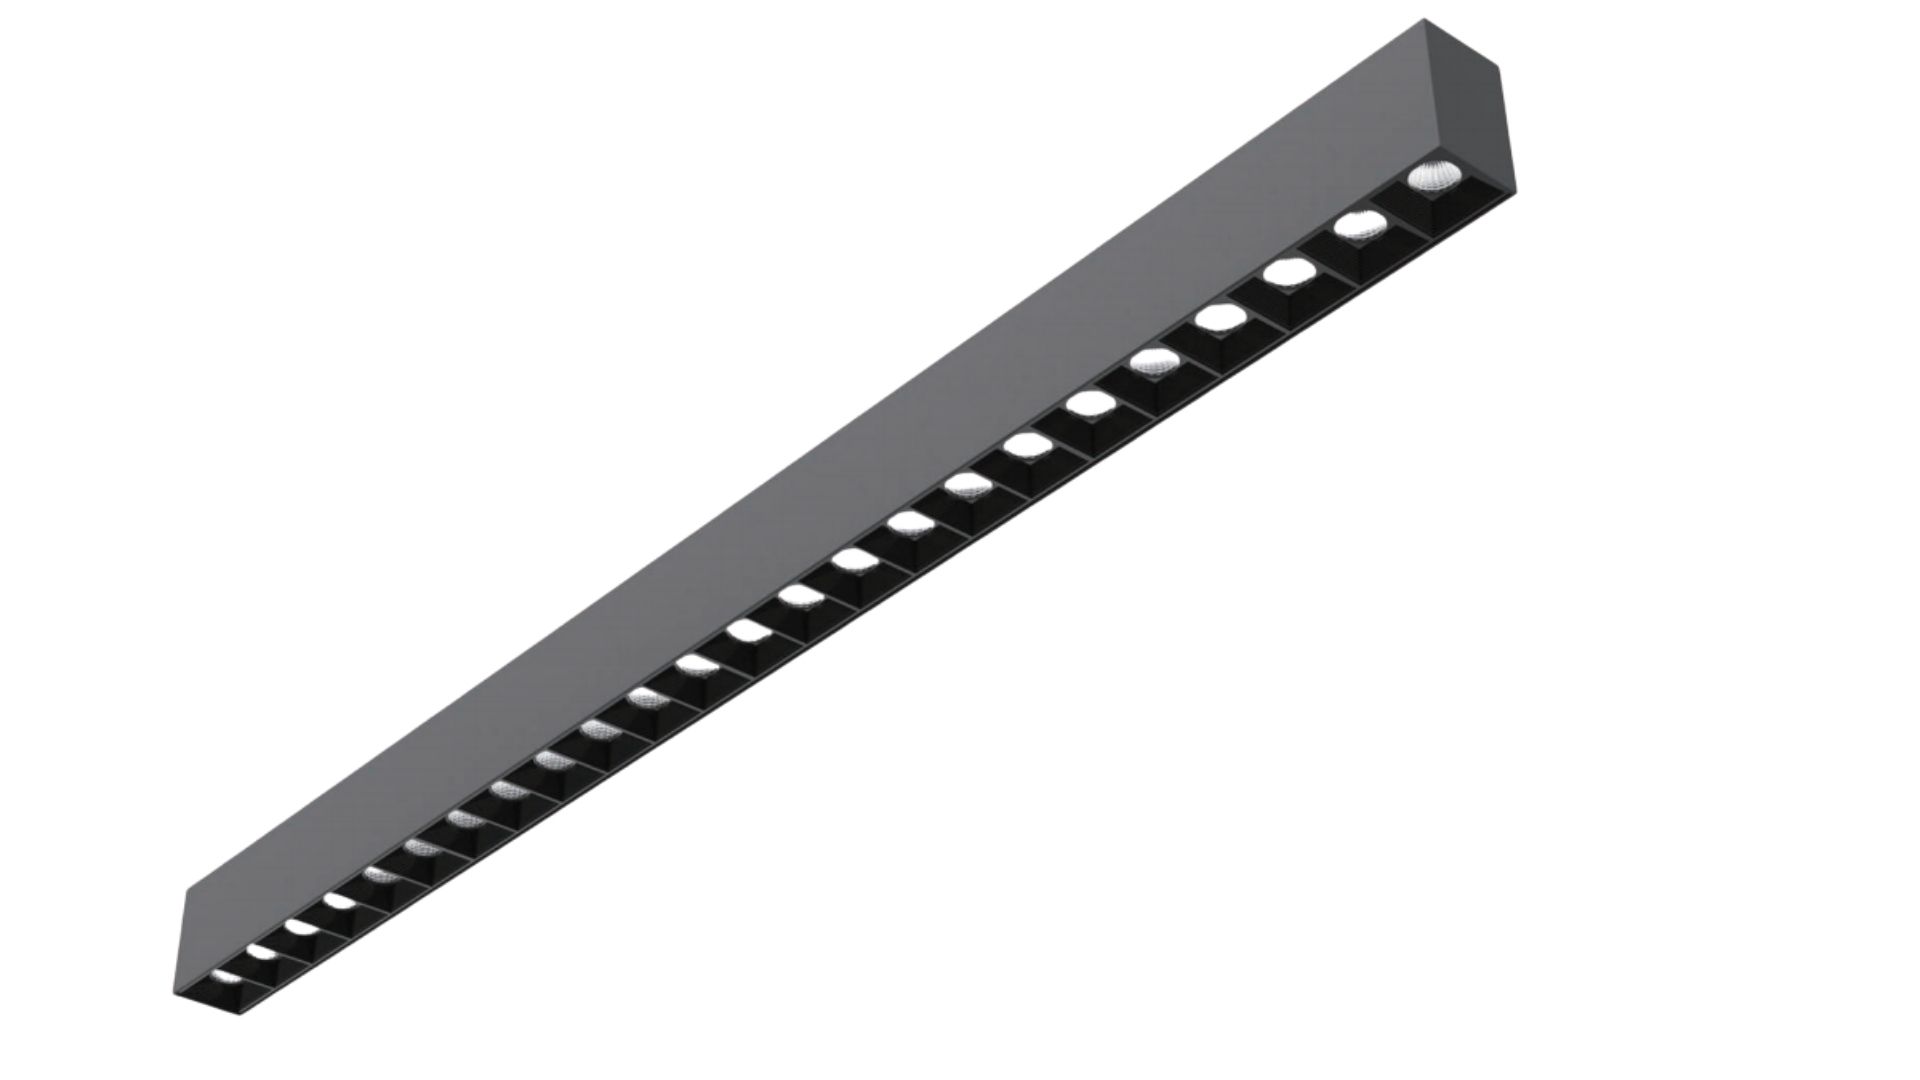
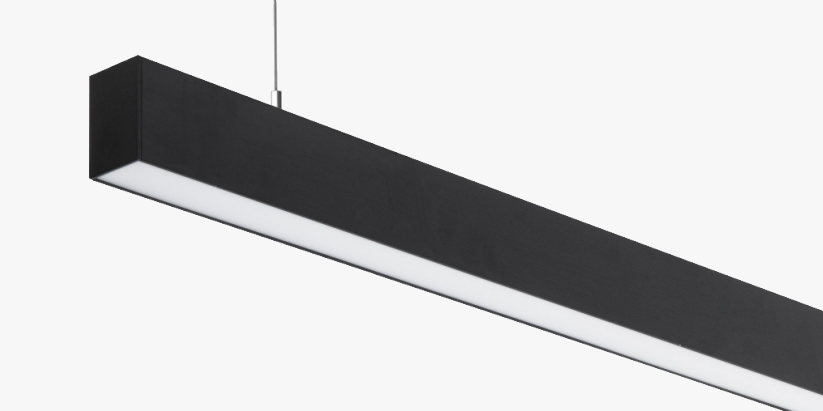
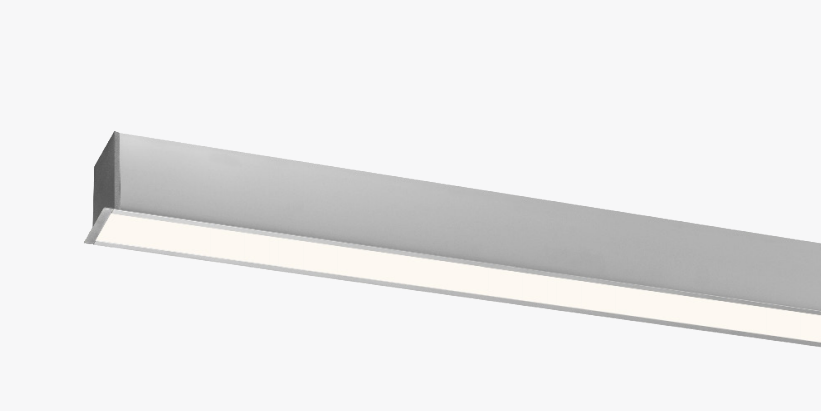
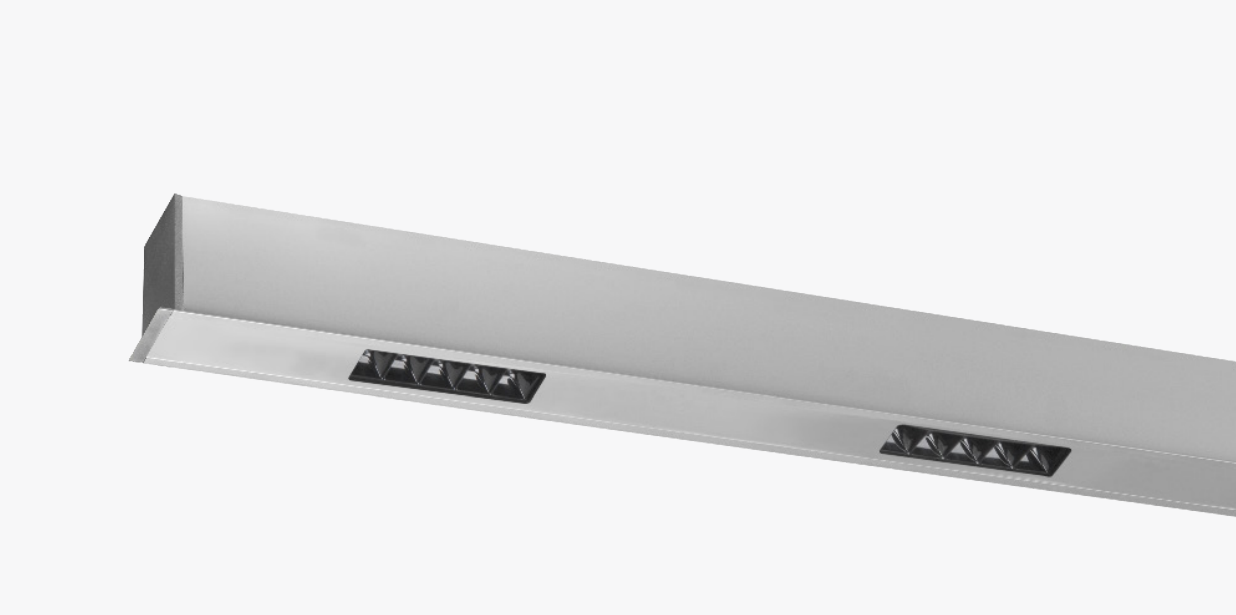
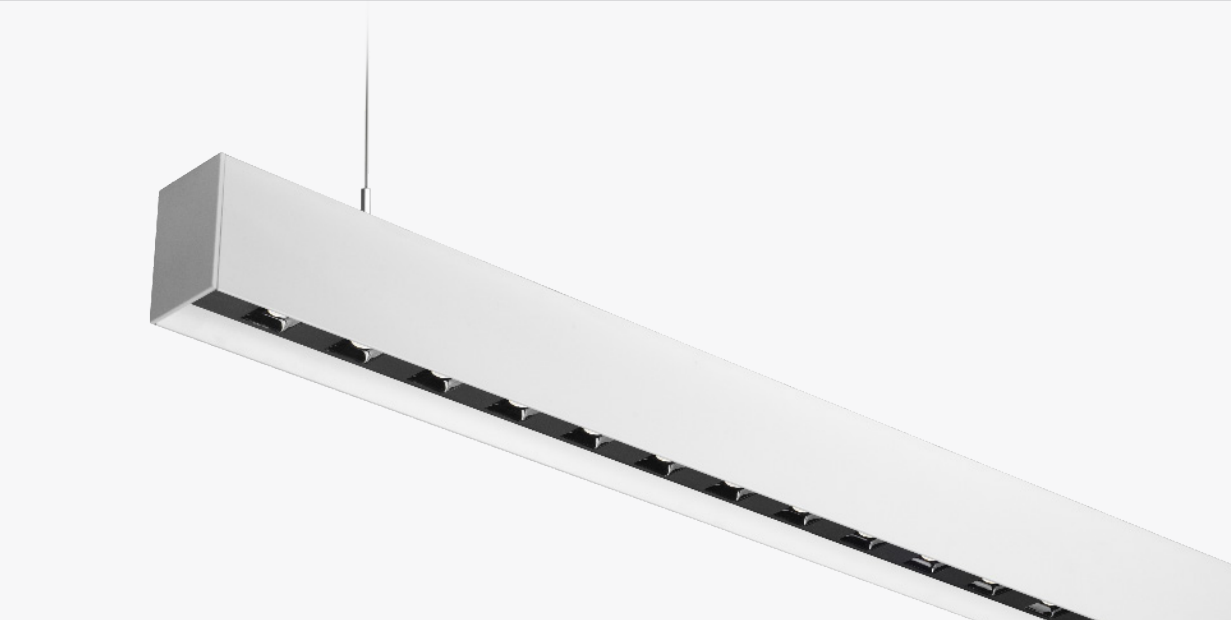
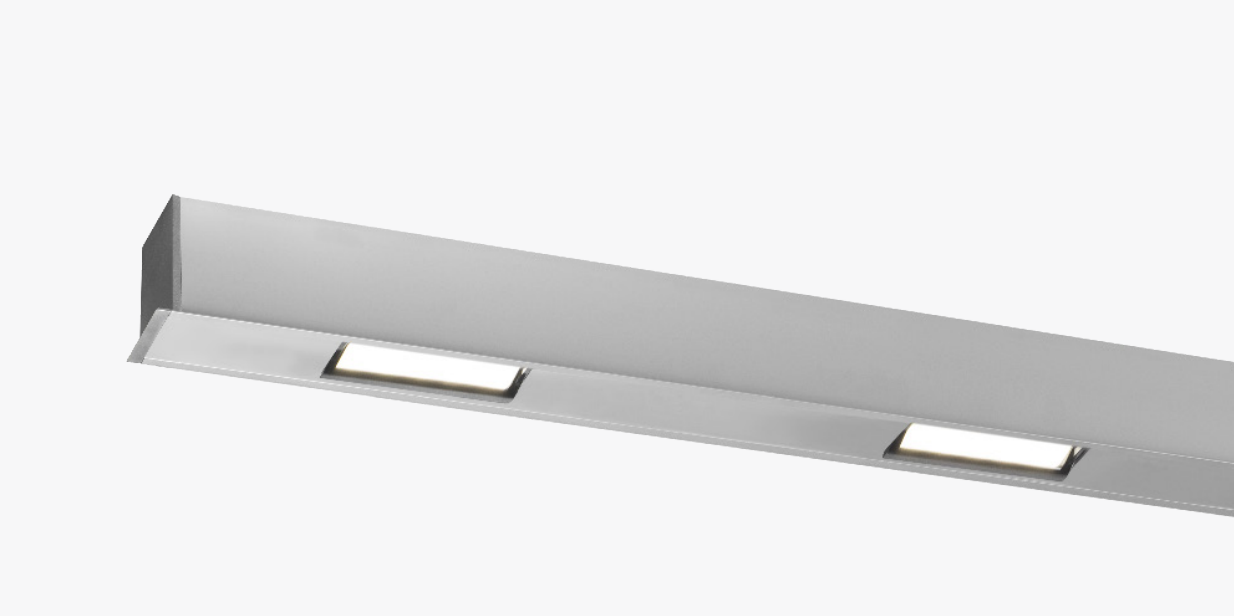
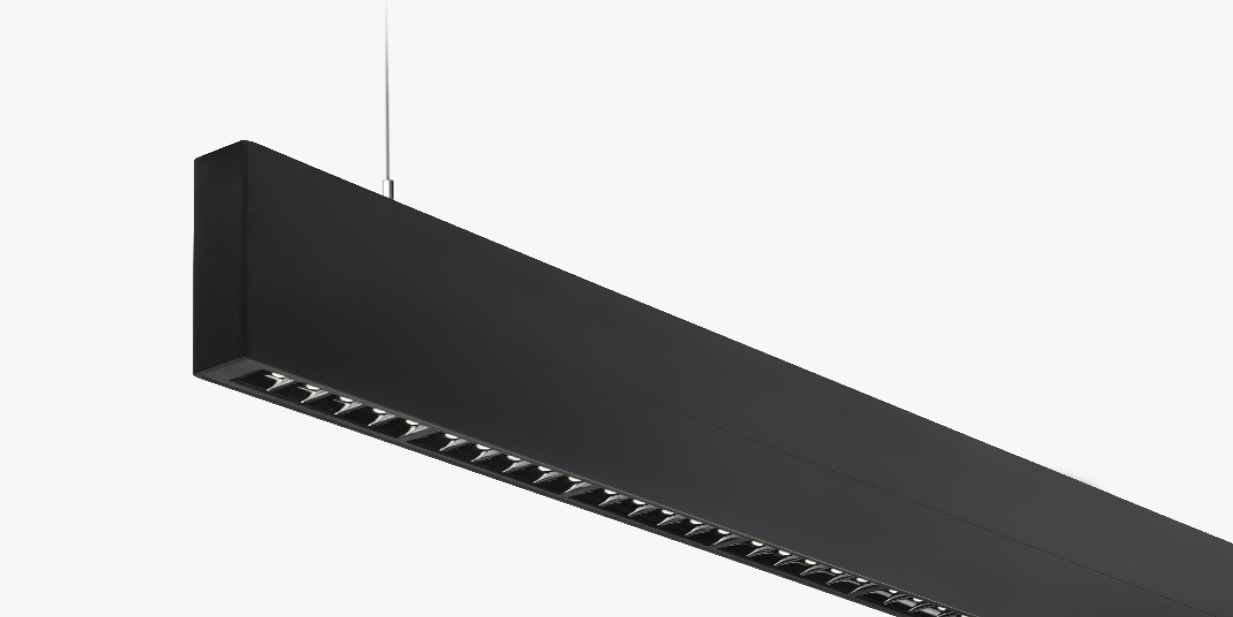
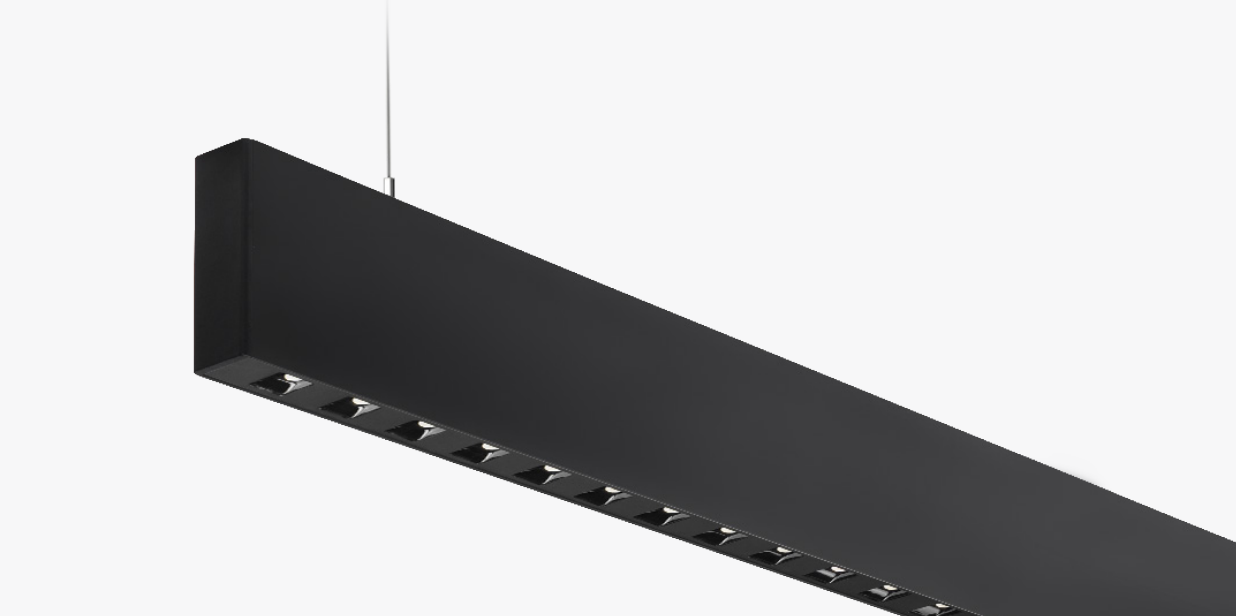
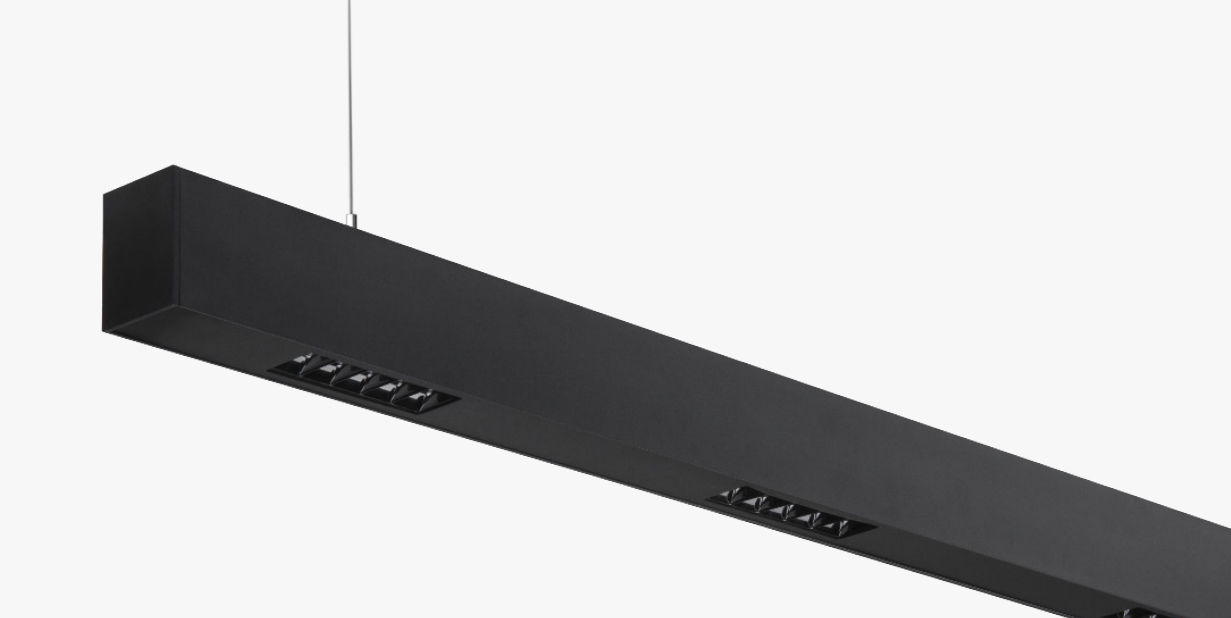
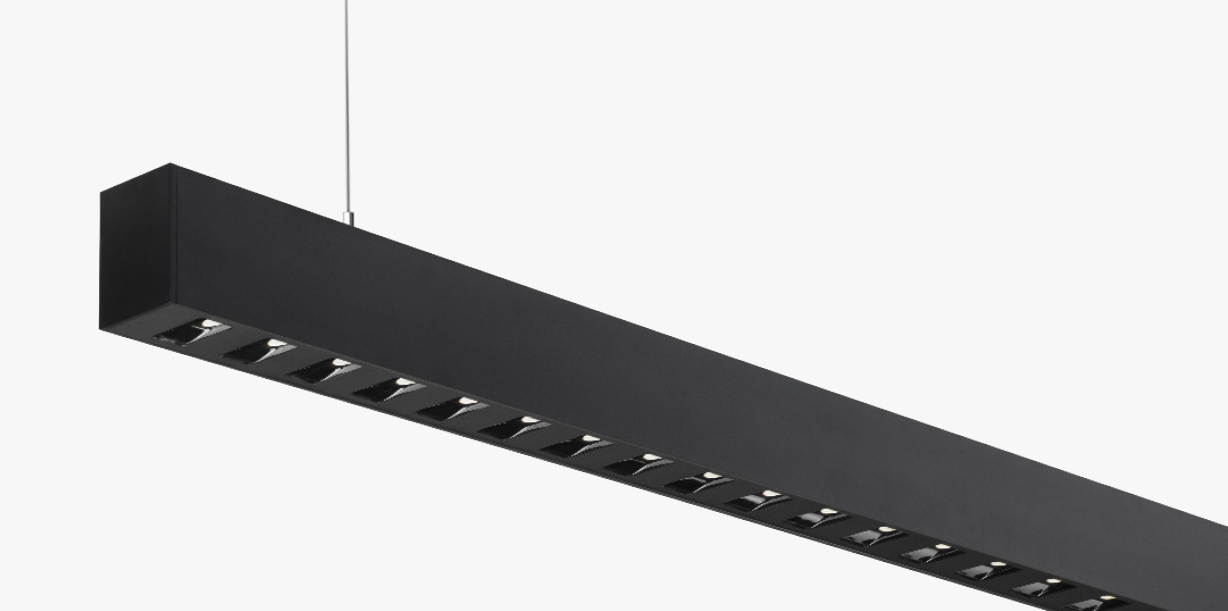
LN-G-Series

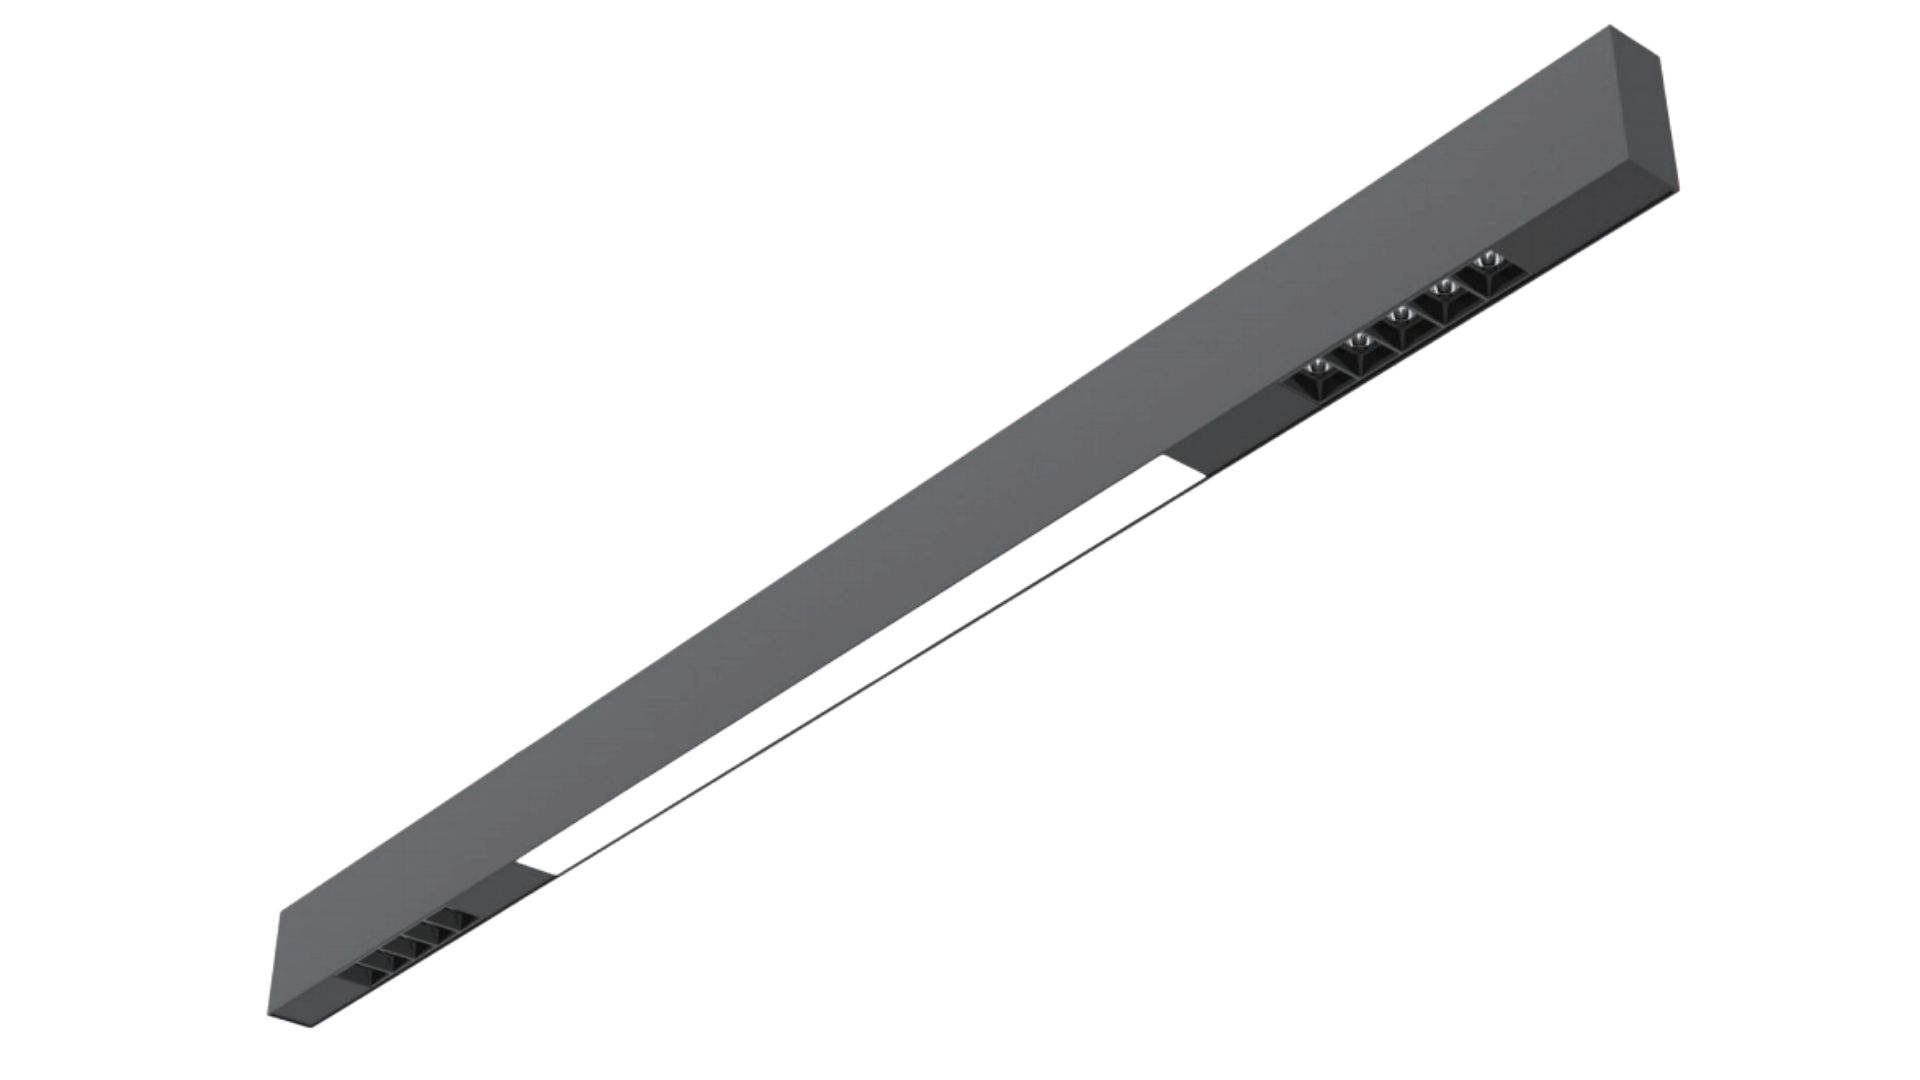

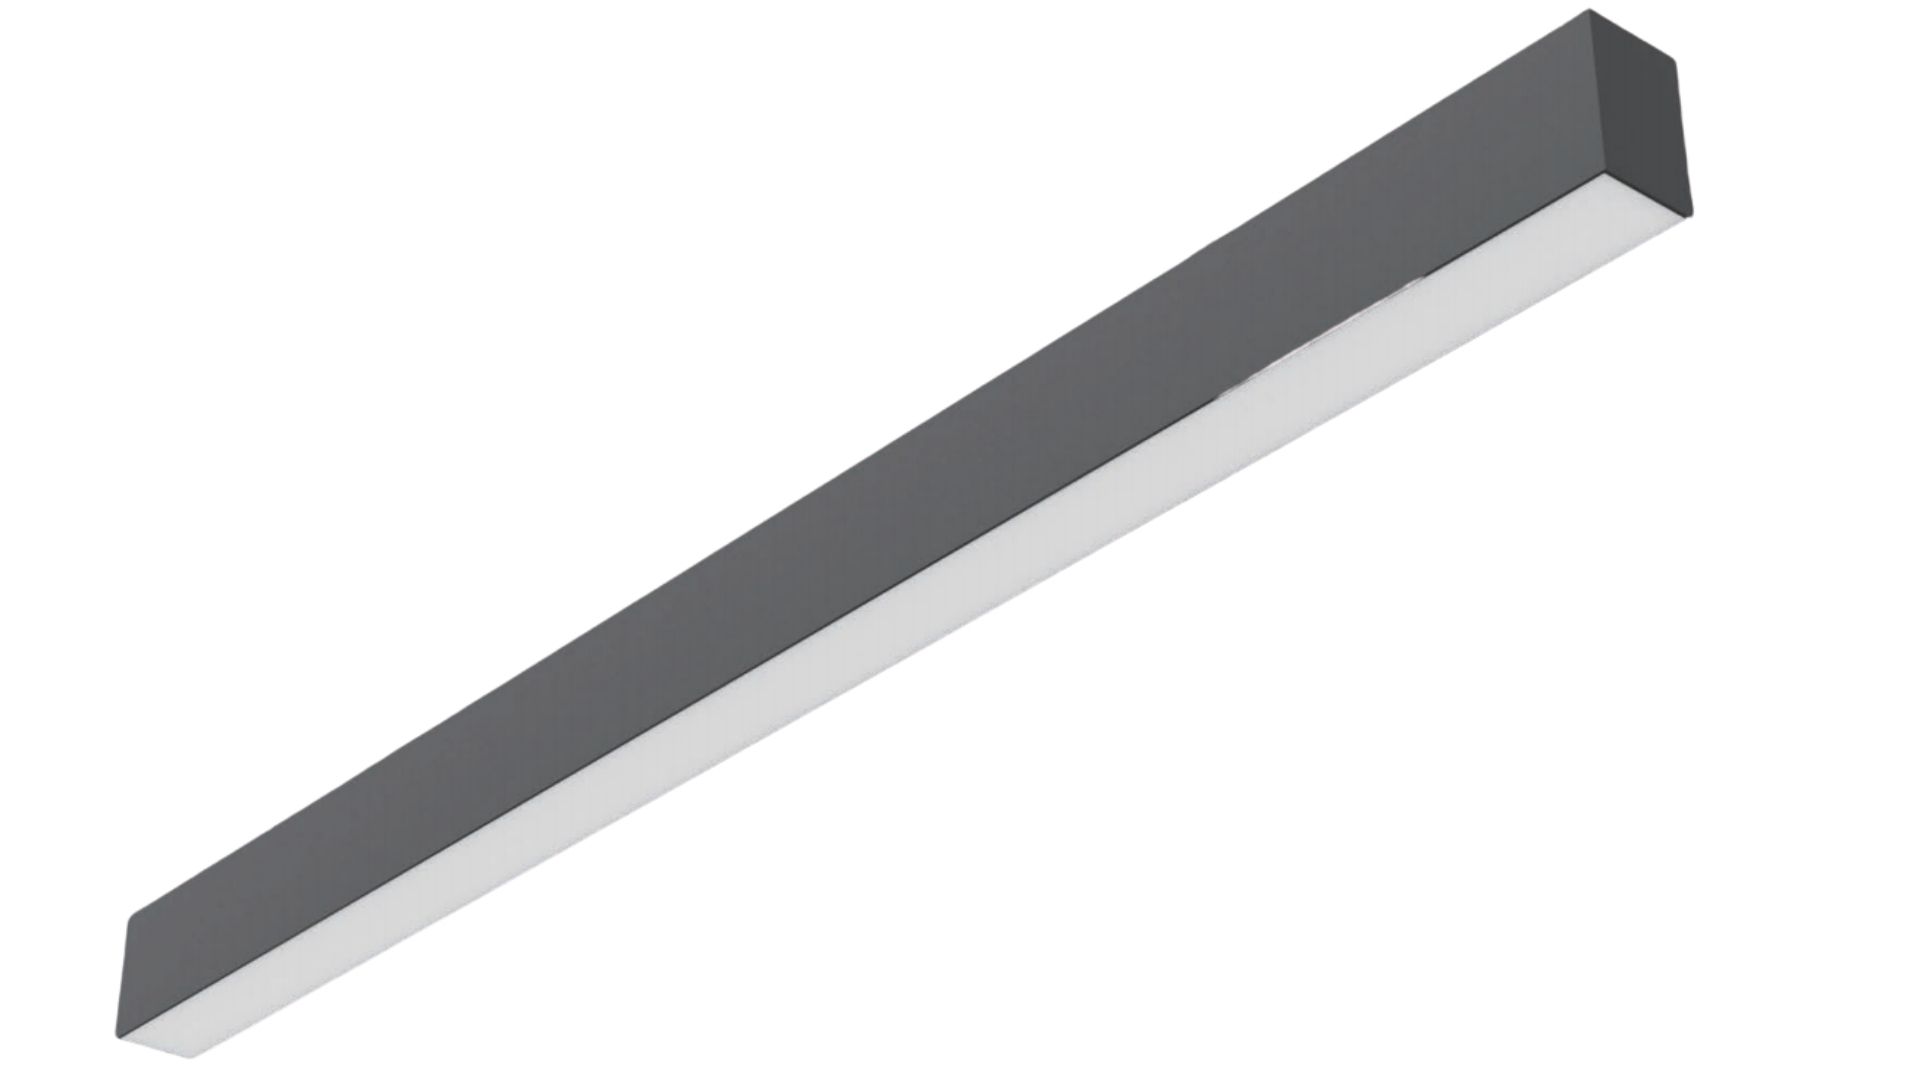
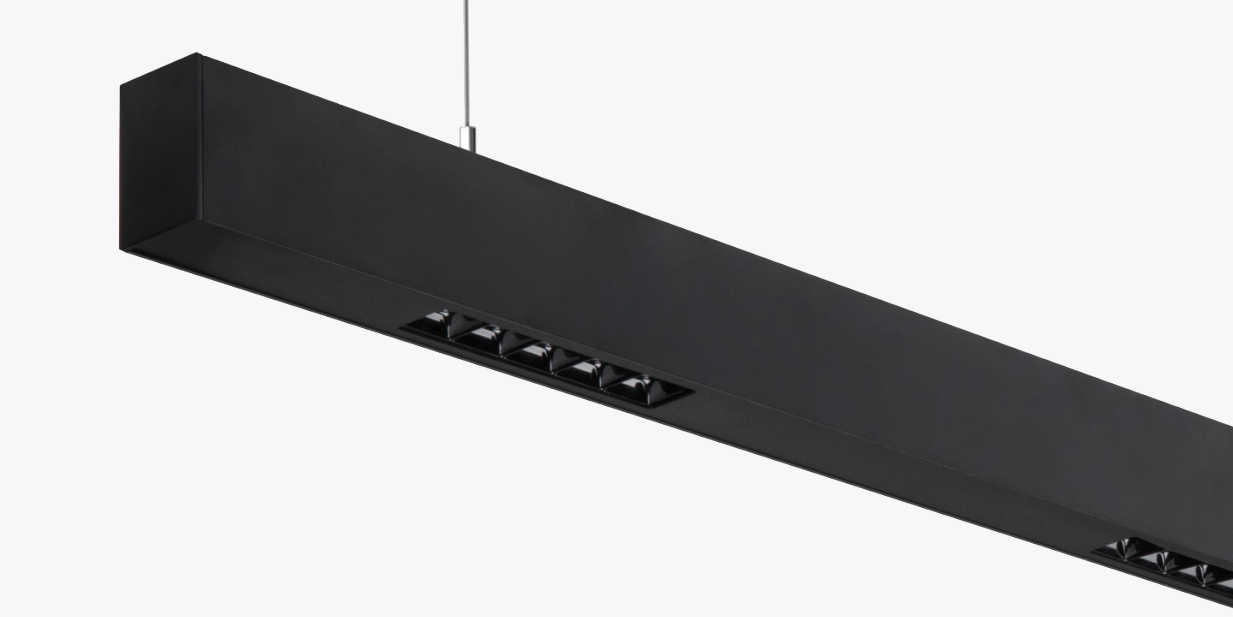
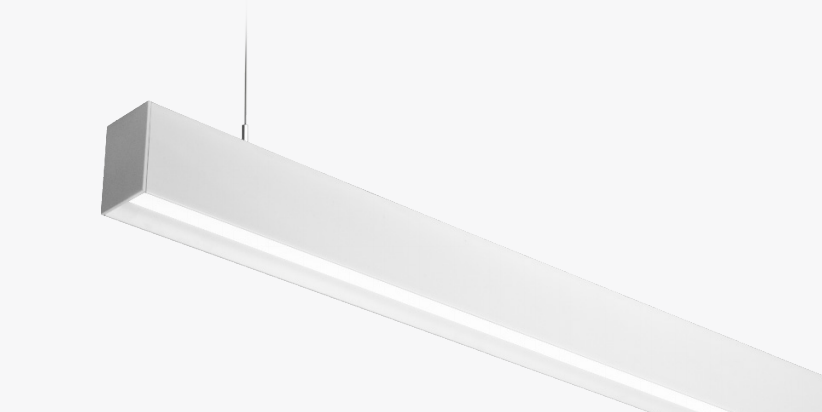
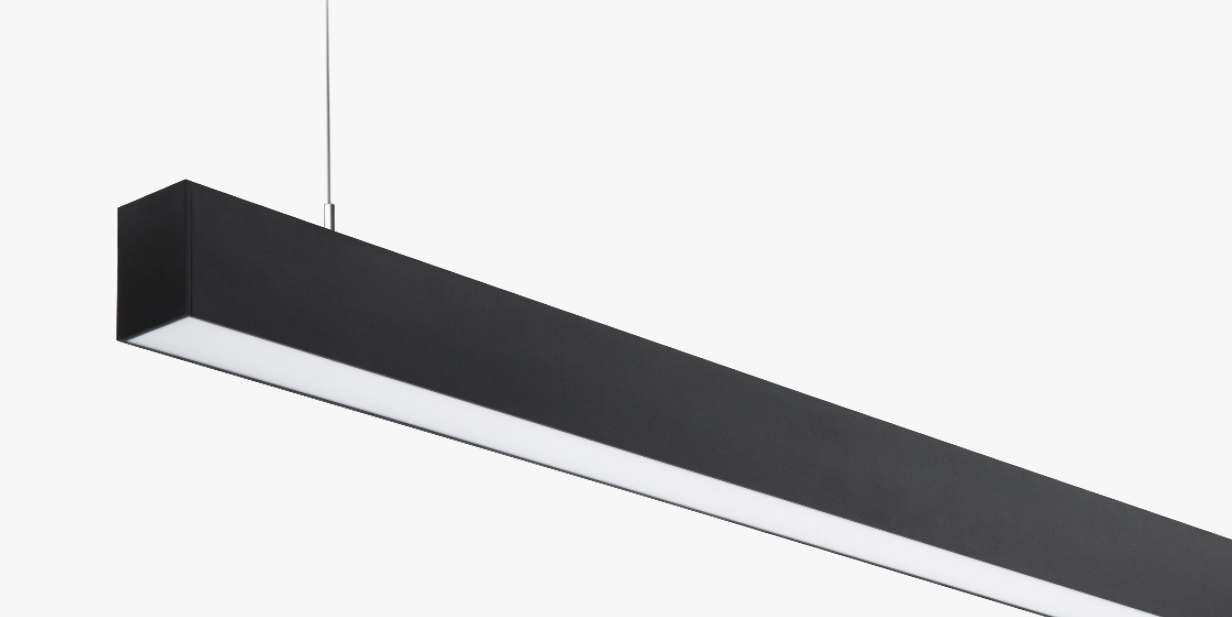
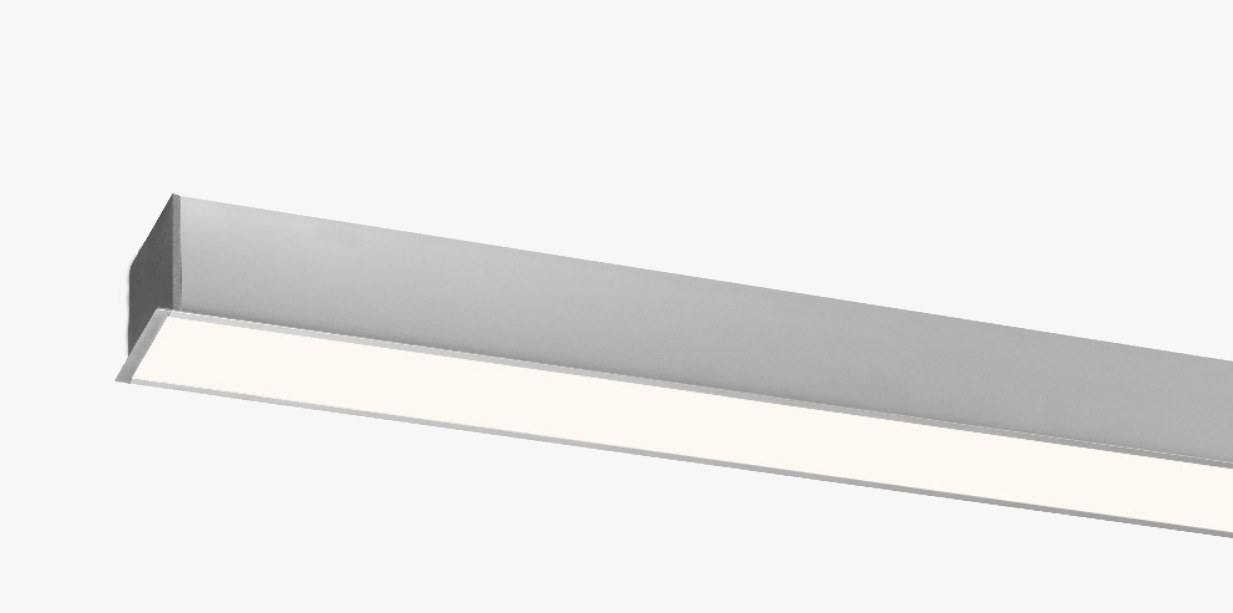
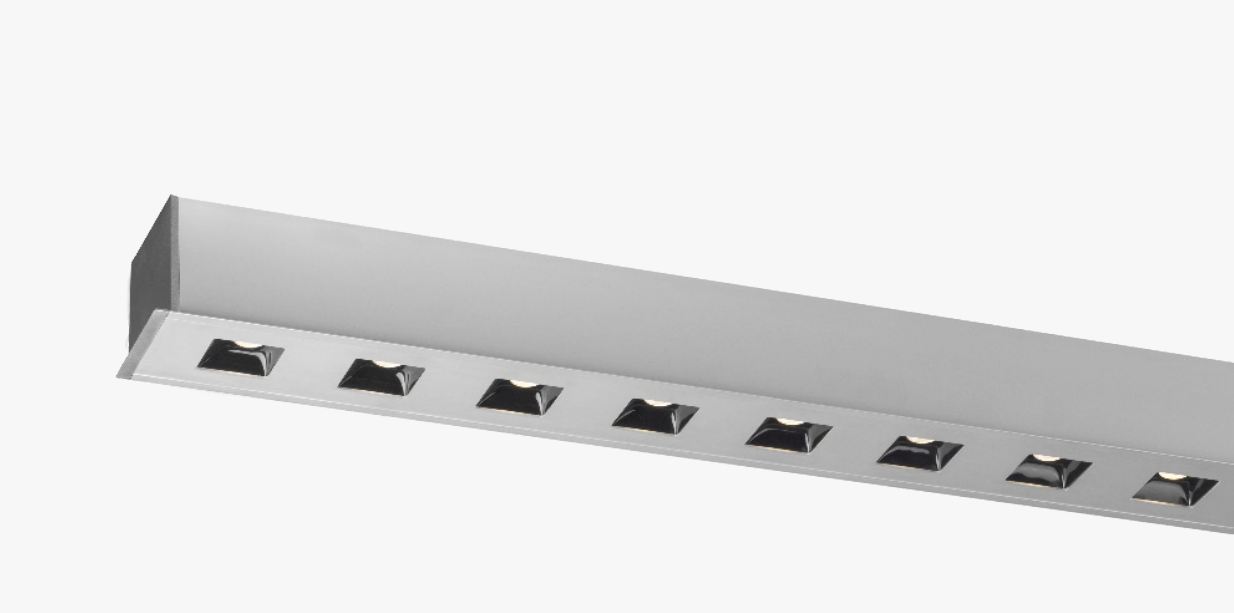
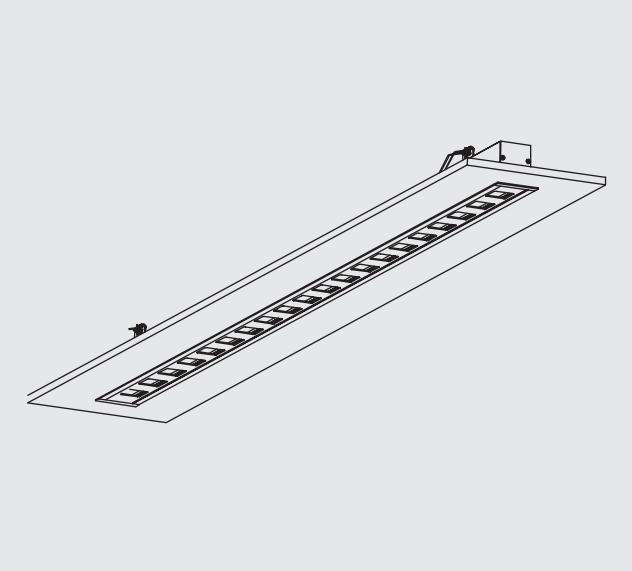
LN-O-Series


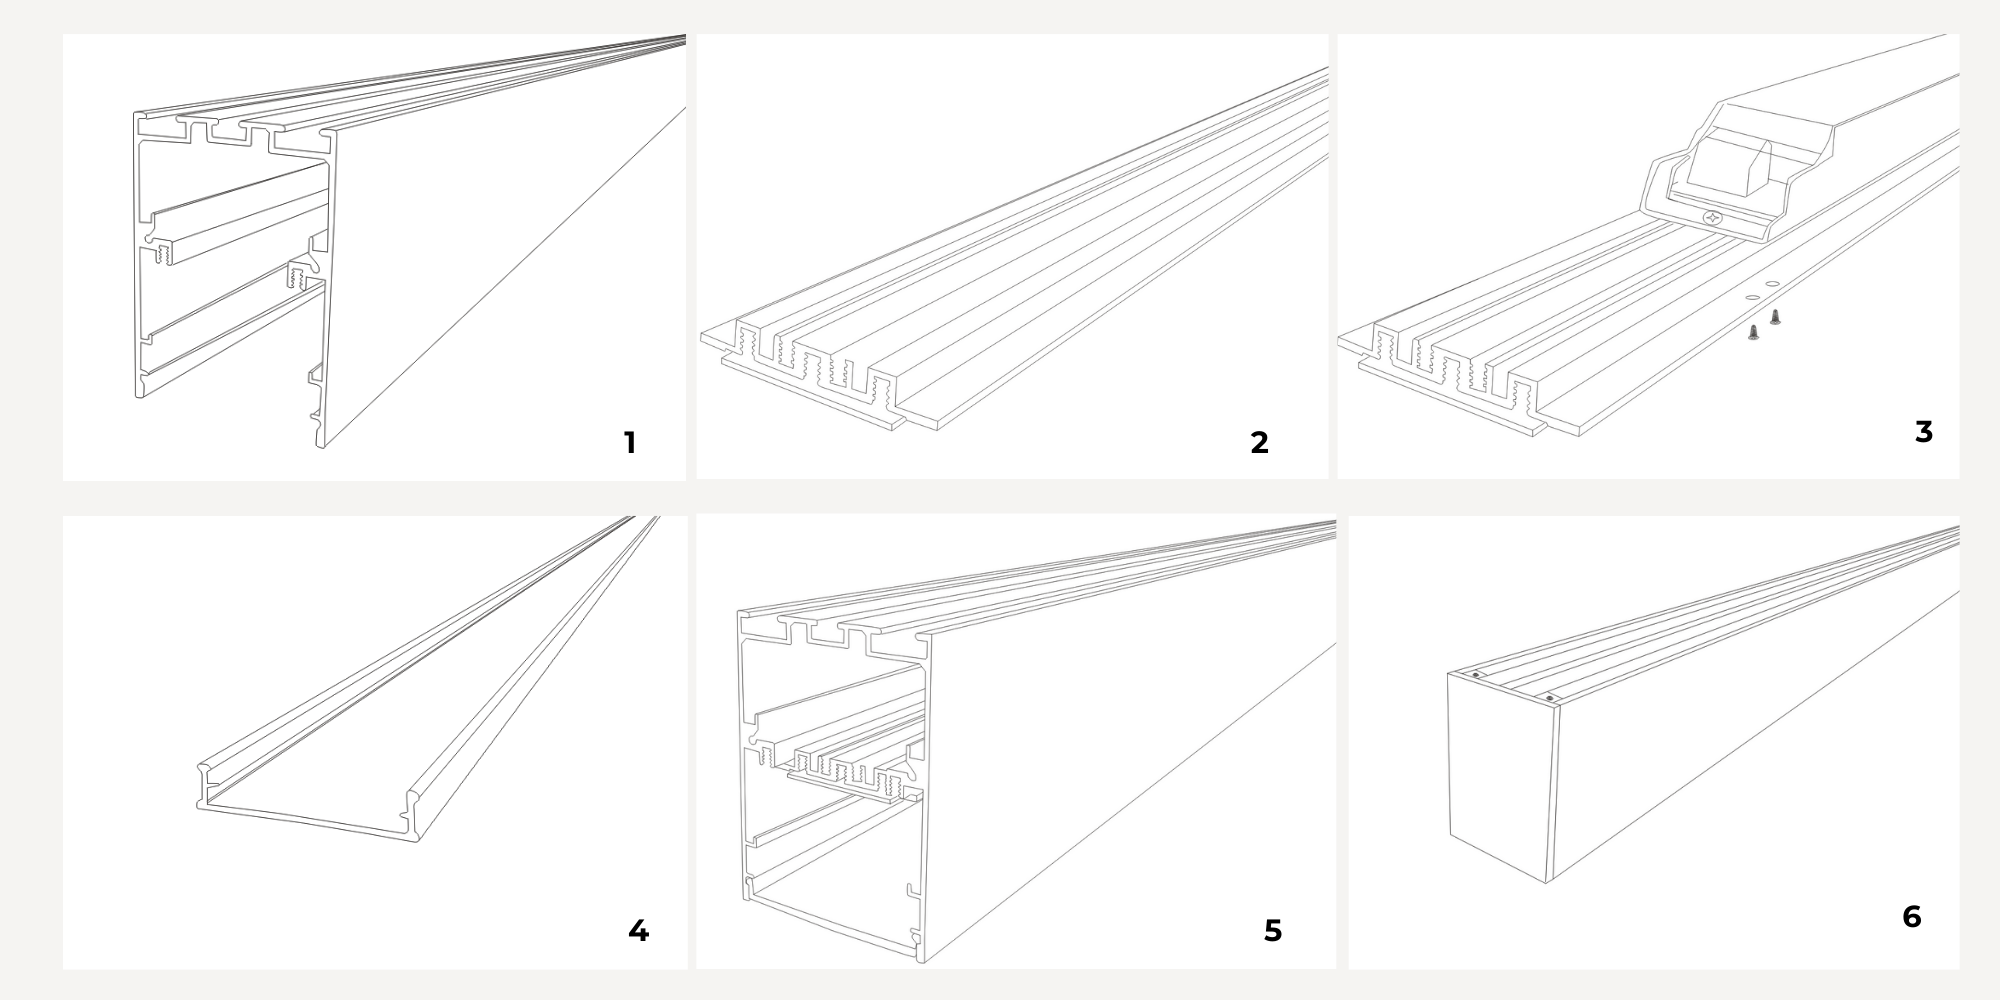
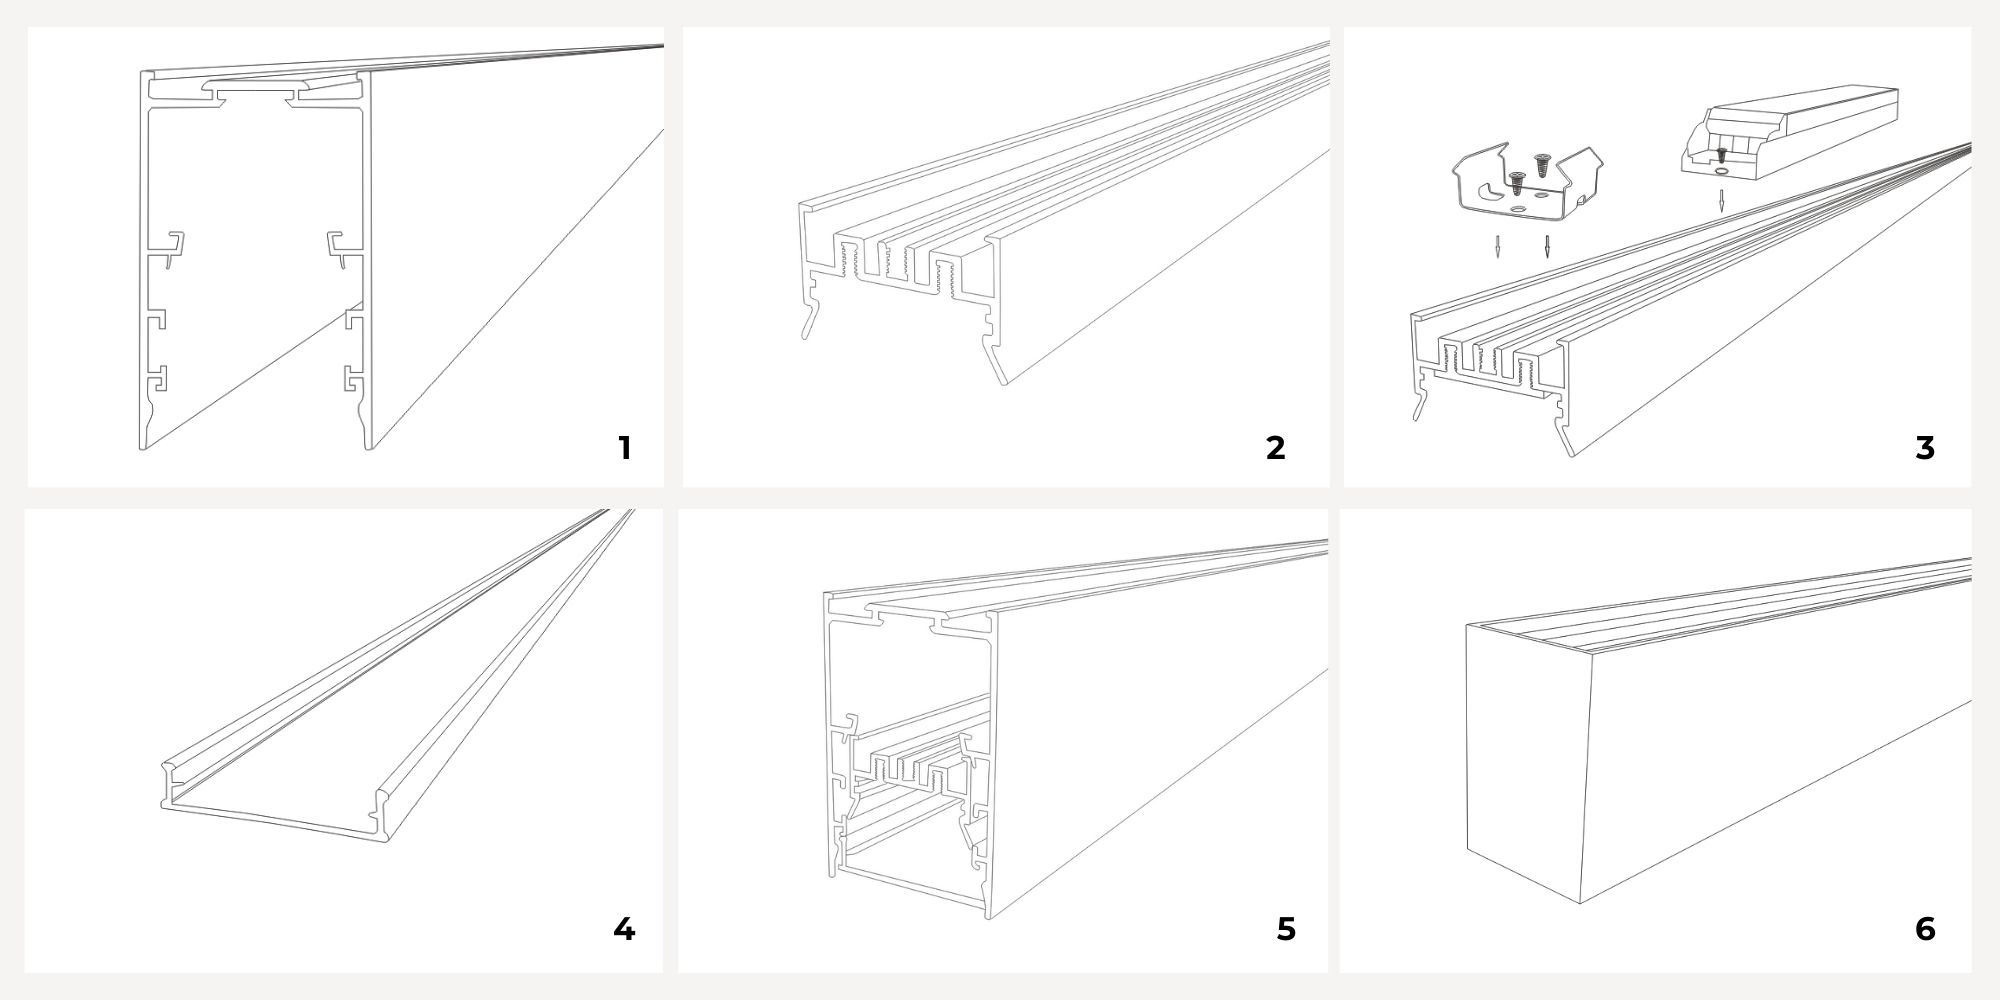
Easy installation
Quick joining system simplifies installation,
allowing seamless connection in less than a minute with no chance of light leaks.
The following installation operations need to be completed by professional electrician.
Installation method of Pendant
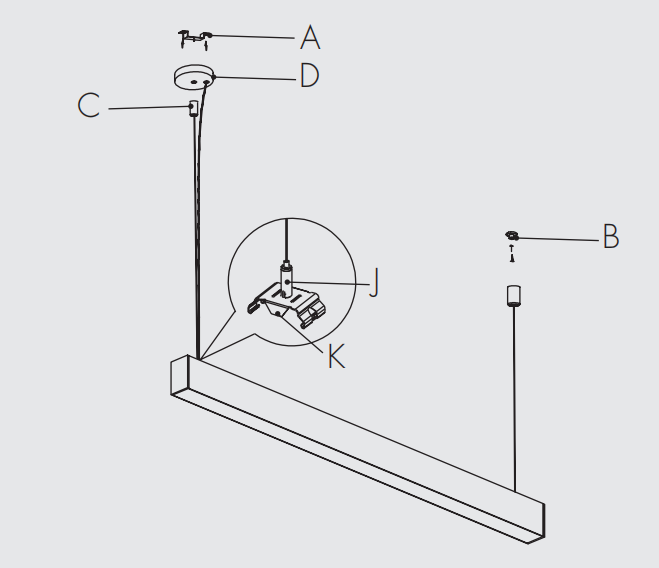
Method 1
- Screw the hanging plate (A) and the copper piece (B) on the ceiling respectively, and buckle the Kbutton on the back of the lamp
- The steel wire passes through the copper part (C) and the telescopic part (J), and then tightens the copper part (C) and the copper piece (B).
- Connection power supply AC, installation of lamps and lanterns.
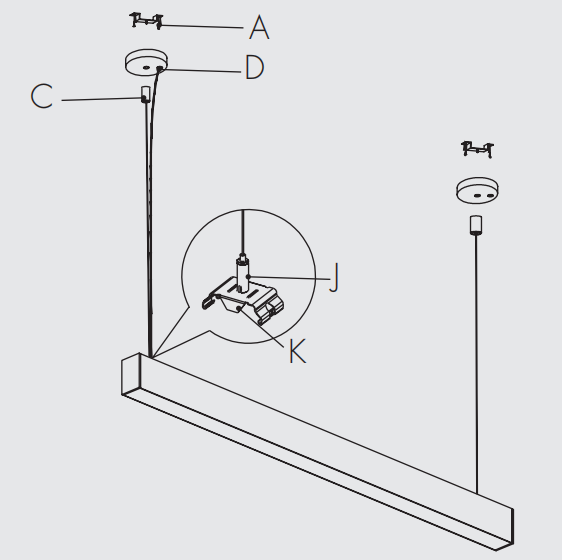
Method 2
- Fix the hanging plate (A) on the ceiling with screws, and buckle the K button on the back of thelamp.
- The steel wire is passed through the copper ( C ) and the telescopic ( J ).
- The power cord goes through the electrical box (D) and is connected to the power AC~.
- The copper parts (C), the electrical box (D) and the hanging plate (A) are screwed tightly, and thelamps and lanterns are installed.
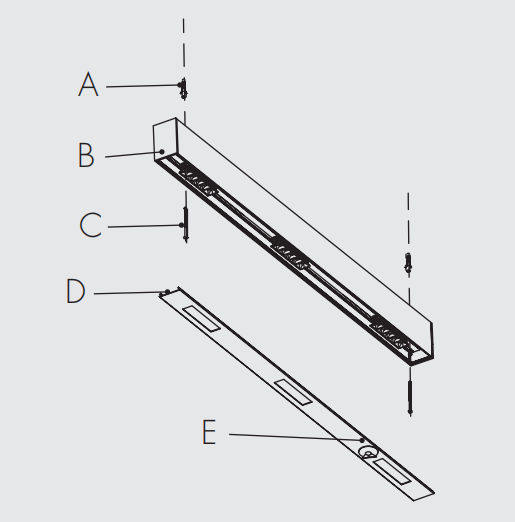
Installation method of Surface
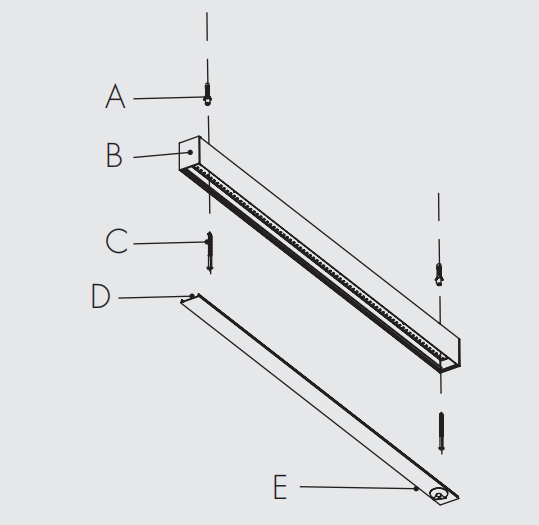
Method 1
- Open the hole on the ceiling and hole in the reference hole (B), and insert the wood screw plasticbushing (A) into the hole.
- The lower cover (D) is connected to the power line AC~ by suction cup (E), and the lamp (B) isfixed on the ceiling with self tapping screws (C).
- Cover the face mask (D), the lamps and lanterns are installed.
Method 2
- Open the hole on the ceiling and hole in the reference hole (B), and insert the wood screw plasticbushing (A) into the hole.
- The lower cover (D) is connected to the power line AC~ by suction cup (E), and the lamp (B) isfixed on the ceiling with self tapping screws (C).
- Cover the face mask (D), the lamps and lanterns are installed.
Installation method of Recessed
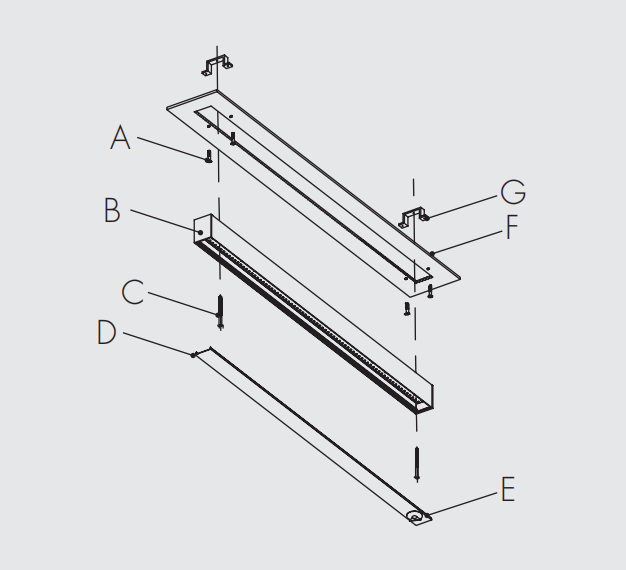
Method 1
- Open the hole on the ceiling (F). The size of the opening is based on the size of the lamp (B).
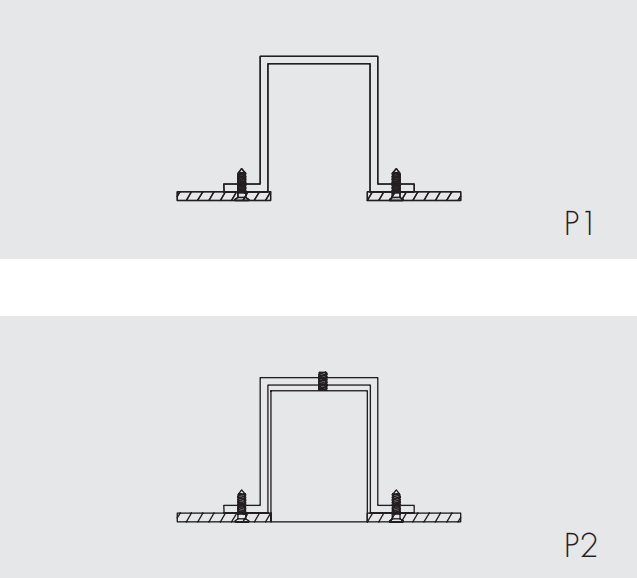
- The mounting bracket (G) is fixed on the ceiling (F) with screws (A), as shown in P1. The distance between the fixed positions refers to the fixed hole spacing at the bottom of the luminaire (B).
- The lower cover (D) is connected to the power cord AC~ by suction cup (E), and the lamp (B) isfixed to the mounting bracket (G) by screws (C), as shown in P2.
- Cover the face mask (D), the lamps and lanterns are installed.
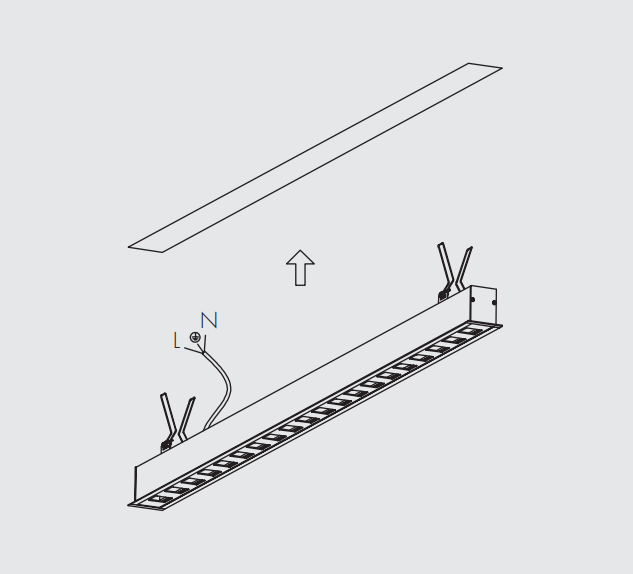
Method 2
- Open the hole (WxL) on the ceiling.
- Input the AC of the luminaire to the necklace and the electric Necklace.
- Fit the spring openings on the lamp body into the opening and adjust the evenness.
- The installation of the lamps and lanterns is completed.
Installation method of Seamless splicing

- First, A and B are locked on the ceiling with screws.
- Tighten and fix the elastic buttons (K) and the telescopic copper parts (J), then clip them from theback of the lamp, then wire the copper wire through the copper parts (C) and the telescopiccopper parts (J).
- The lamps and lanterns are screwed into copper pieces (B) by copper parts (C), and then hangedup in turn.
- Connect the lamps and lanterns, first take out the mask (G) with a sucker (H), then insert the linein the corresponding label to insert it, and then insert the connector (E) and (F) into the lamps andinsert them into the lamp. When they are connected to each other, it is necessary to close thelamp to the connection and wrench with the wrench (I).
- Adjust theheight and adjust the copper wire rope of the whole lamp belt through the telescopicparts according to the actual needs.
- Connect the AC power cord through the suction cap and connect to the AC220V, and cover allthe mask (G) to the luminaire.